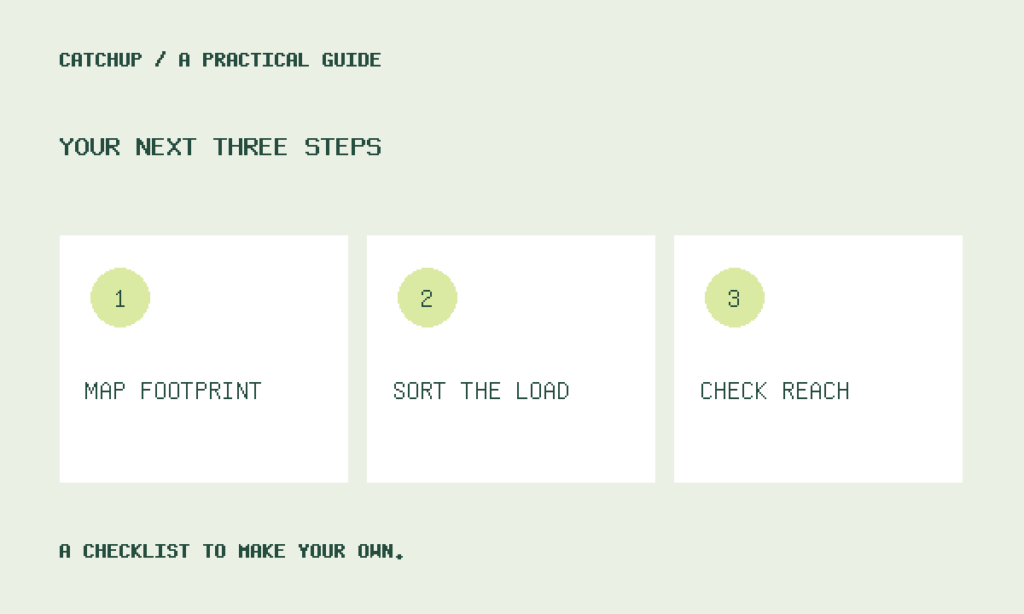
Measure the usable zone, assign every item a storage role and test the proposed footprint without mistaking that test for proof of compartment capacity or vertical access.
An organizer may fit inside the open area on a desk yet interfere with a notebook, mouse or frequently used supplies. The Footprint–Load–Reach worksheet turns those competing needs into measurements and a single fit sentence you can use when evaluating any organizer.
Footprint–Load–Reach Worksheet
FOOTPRINT
Candidate location: ____________________
Available width: ____________________
Available depth: ____________________
Fixed obstacles: ____________________
Movement clearance 1: __________ must remain __________ clear for __________
Movement clearance 2: __________ must remain __________ clear for __________
Final maximum footprint: __________ wide by __________ deep

LOAD — COPY THIS ROW FOR EACH ITEM
Item: __________ | Quantity: __________ | Orientation: stand / lie down / either | Frequency: __________ | Role: daily / occasional / overflow | Requires organizer space: yes / no

REACH
Approach side: ____________________
Items that must remain visible: ____________________
Movements or access that must remain unobstructed: ____________________

FIT SENTENCE
The organizer must stay within __________ wide by __________ deep, hold ____________________, and leave ____________________ clear for ____________________.
Hypothetical: Jordan’s Completed Load Rows
| Item | Quantity | Orientation | Frequency | Role | Requires organizer space |
|---|---|---|---|---|---|
| Pens | 4 | Stand upright | Daily | Daily | Yes |
| Pencil | 1 | Stand upright | Daily | Daily | Yes |
| Small notepad | 1 | Lie flat | Daily | Daily | Yes |
| Reminder cards | 3 | Stand or prop visibly | Daily | Daily | Yes |
| Ruler | 1 | Lie flat | Occasional | Occasional | No; store elsewhere |
| Spare markers | 2 | Lie down | Occasional | Occasional | No; store elsewhere |
| Unopened stationery | Unspecified reserve | Any | Rare | Overflow | No; store elsewhere |
Hypothetical: Jordan’s Completed Space Fields
FOOTPRINT
Candidate location: Beside the monitor
Available width: 12 inches
Available depth: 9 inches
Fixed obstacles: Monitor beside the candidate zone
Movement clearance: Front 3 inches must remain clear for opening the notebook
Final maximum footprint: 12 inches wide by 6 inches deep

REACH
Approach side: Front
Items that must remain visible: Three reminder cards
Movements or access that must remain unobstructed: Opening the notebook across the front of the zone; reaching the flat notepad without tall items blocking it

FIT SENTENCE
The organizer must stay within 12 inches wide by 6 inches deep, hold four upright pens, one upright pencil, one flat small notepad and three visible cards, and leave the front three inches clear for opening the notebook.
Q: Which part of the desk should I measure?
A: Measure the zone where the organizer could remain during normal desk use, not the entire desktop. Record its available width and depth, then identify fixed obstacles such as a monitor base, lamp or desk-mat edge.
Next, reserve clearance for recurring movements: opening a notebook, moving a mouse, setting down papers or reaching past the zone. Subtract those boundaries from the open area to establish the maximum footprint. If the usable area is irregular, record the largest simple rectangle that stays clear of every boundary.
Q: How should I list what it must hold?
A: Give each distinct item its own load row. Record the quantity, whether it should stand or lie down, how frequently you use it and whether its role is daily, occasional or overflow.
Daily items require organizer space. For each occasional item, decide explicitly whether convenient access justifies permanent space. Overflow items stay elsewhere unless extra capacity is a deliberate requirement. This keeps seldom-used supplies from silently determining the organizer’s size.
Q: What do reach and visibility add to the worksheet?
A: The approach side records where your hand normally enters the organizer zone: front, left, right or another clearly named direction. Visibility requirements identify items that must remain easy to see rather than merely contained.
These notes reveal conflicts that width and depth alone cannot. For example, an organizer placed within the measured footprint could still put tall items between your approach side and a flat notepad.
Q: How do I turn the worksheet into a buying limit?
A: Use the fit sentence in the worksheet above as your buying limit. Compare its width, depth, required contents and clearances with the candidate organizer’s stated dimensions and compartment layout.
If the required load exceeds the final footprint, reconsider which items deserve desk-level access before enlarging the zone. If the daily items still do not fit, either reduce that list or choose another location.
Q: What can a paper footprint test confirm?
A: Cut or fold paper to the proposed maximum width and depth, place it in the chosen zone and use the desk as usual. Check whether the location preserves the recorded notebook, mouse, paper and hand movements.
The paper test checks placement and movement clearance only. A flat outline cannot confirm that compartments will hold the listed quantities, that upright items will have enough vertical access or that the final arrangement will meet visibility requirements. Check those separately against the completed load and reach fields.
Your checklist
- Measure the candidate zone’s available width and depth.
- Record fixed obstacles and the clearance needed for recurring movements.
- Complete one load row for every item, including its storage role.
- Write the final footprint, approach side, visibility needs and fit sentence.
- Use a paper outline to test placement and movement clearance only.
The worksheet separates three questions that are easy to blur together: where an organizer may sit, what deserves space inside it and how you need to use the area around it. Once those answers are written down, “fits” has a practical definition.